Adding a picture to a spreadsheet in Microsoft Excel can be a helpful way to give readers of that spreadsheet more information. But printing a spreadsheet with a picture, or a lot of pictures, may use a lot of ink, or you may only have a black and white printer when your pictures are in color. Our tutorial in this article will show you how to adjust a setting for an Excel picture so that the picture isn’t included when you print the spreadsheet.
How to Exclude a Picture from Printing in Microsoft Excel
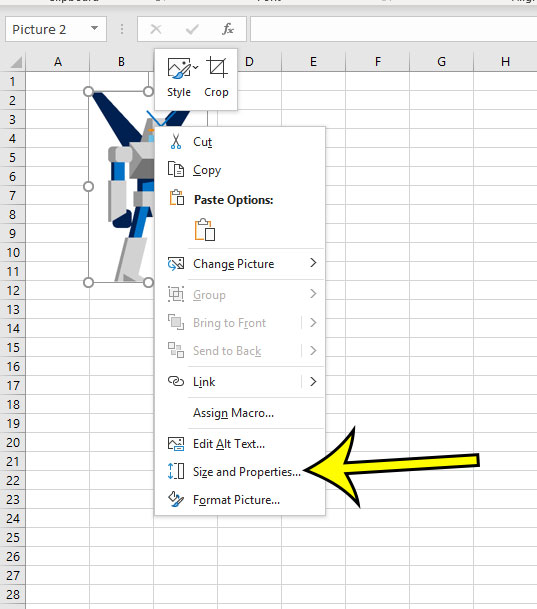
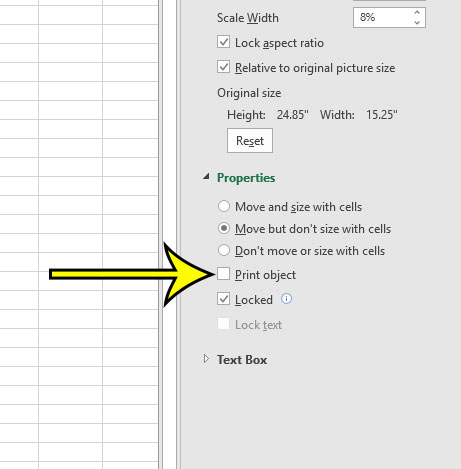
The steps in this article were performed in Microsoft Excel for Office 365. By completing the steps in this guide you will be stopping a picture in your spreadsheet from printing. The rest of the content in the spreadsheet will still print normally. Step 1: Open the spreadsheet with the picture in Microsoft Excel. Step 2: Click on the picture that you don’t want to print. Step 3: Right-click the selected picture, then choose the Size and Properties option. Step 4: Click the arrow to the left of Properties in the column at the right side of the window. Step 5: Click the box to the left of Print object to clear the check mark. Would you like your spreadsheet readers to be able to click your picture and have it open a Web page? Find out how to hyperlink picture in Excel to achieve that behavior. This only affects the picture that you select. Any other pictures in your spreadsheet will still print. He specializes in writing content about iPhones, Android devices, Microsoft Office, and many other popular applications and devices. Read his full bio here.