Our tutorial below will show you how to find and enable this setting so that you can show the Developer tab in your ribbon and gain access to the tools that it contains.
How to Display the Developer Tab in Excel 2013
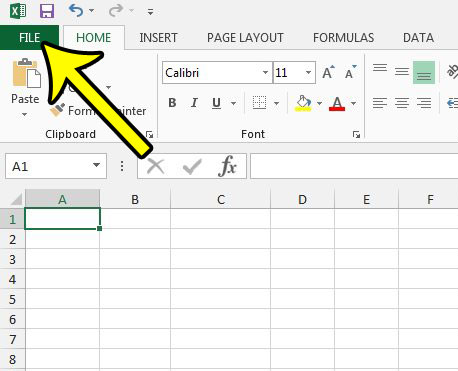
The steps in this guide will show you where to find the option that will add the developer tab to the ribbon in Excel 2013. This is helpful when you need to use certain features of Excel, like Macros, that aren’t present on any of the other default tabs in Excel. Step 1: Open Excel 2013. Step 2: Click the File tab at the top-left corner of the window.
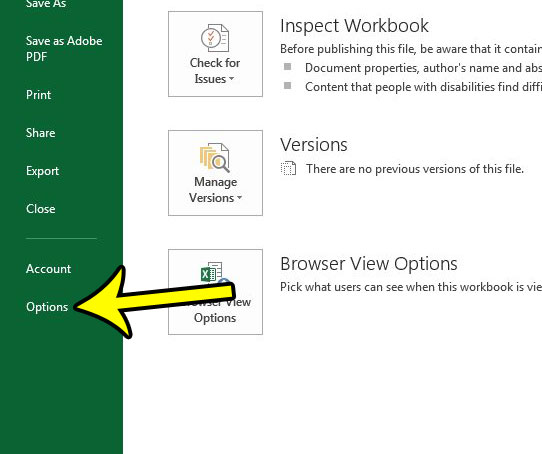
Step 3: Click the Options button at the bottom of the column on the left side of the window.
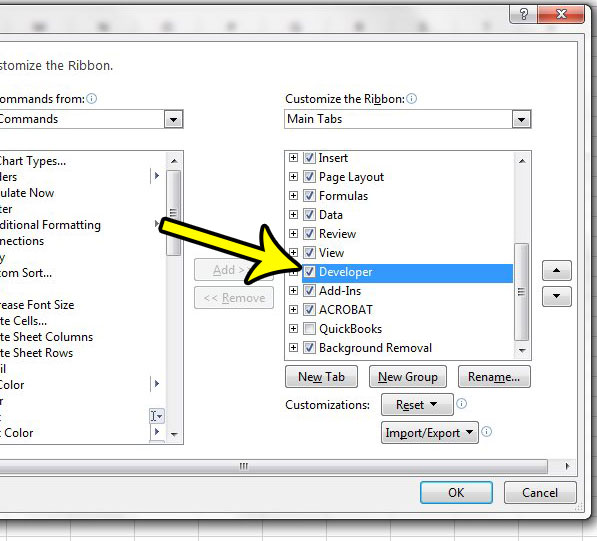
Step 4: Click the Customize Ribbon option in the column at the left side of Excel Options.
Step 5: Check the box to the left of Developer in the column at the right side of the window, then click the OK button at the bottom of the window.
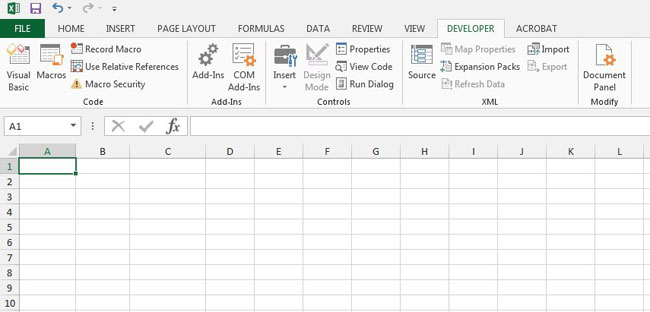
You should now see the Developer tab at the top of the ribbon. If you click on it you will see all of the options that are available on this tab, which is shown below.
Are you having trouble getting a spreadsheet to print how you want? Checkout our printing guide for some tips and settings that can help you make Excel printing a much less frustrating task. He specializes in writing content about iPhones, Android devices, Microsoft Office, and many other popular applications and devices. Read his full bio here.