Excel spreadsheets can often be unruly documents that are best viewed on a computer monitor. But many situations call for a printed copy of a spreadsheet, which can be difficult if the spreadsheet is very large. But if only certain parts of the spreadsheet need to be printed, then you can make things a little easier by creating a print area. This will allow you to set the parts of the worksheet to be printed, and it will leave everything else off of the printed copy.
How to Create a Print Area in Microsoft Excel 2013
Our guide continues below with additional information on setting a print area in Excel, including pictures of these steps.
Microsoft Excel 2013 – Set Print Area (Guide with Pictures)
The steps below will show you how to select an area in your spreadsheet, then set it as the print area. This means that only the selected portion of the spreadsheet will print. If you save the Excel file after setting a print area, then that setting will remain. If you find that only parts of a spreadsheet are printing, such as a spreadsheet that you have received from another person, then the print area is likely the reason for that behavior.
Step 1: Open your file in Excel 2013.
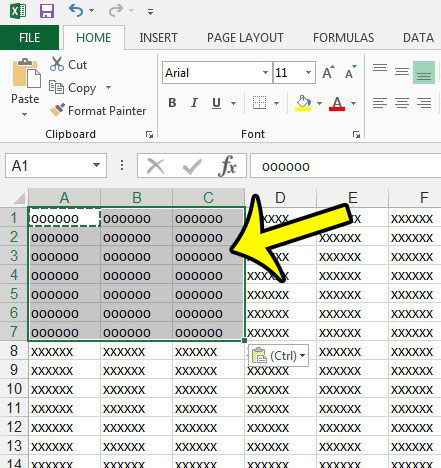
Step 2: Highlight the cells that you want to set as the print area.
Excel will print blank cells if they are included in a print area, so this can be a helpful solution if you need to print out a blank grid and complete it manually, such as when doing a physical inventory.
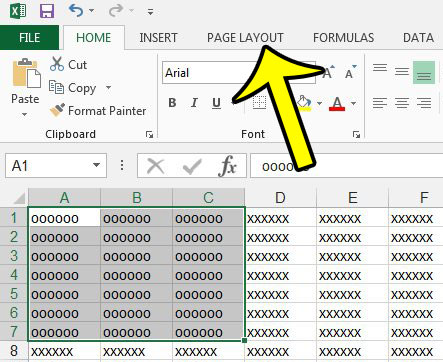
Step 3: Click the Page Layout tab at the top of the window.
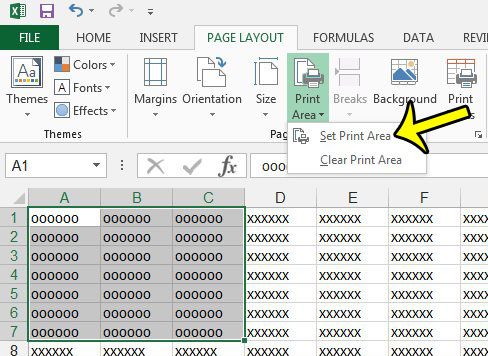
Step 4: Click the Print Area button in the Page Setup section of the ribbon, then click the Set Print Area option.
The Page Setup group in the ribbon includes some other useful print settings that you would find in other Microsoft Office applications, such as a way to define page margins, set the page orientation and paper size, or select which rows to use as titles. Our tutorial continues below with additional discussion on working with the print area in Excel 2013.
More Information on How to Set Print Area – Excel 2013
If you are having difficulty visualizing the print area that you just selected, then it can help to check the print preview to see how everything will look. Once you have defined the print area for your spreadsheet you can then click the File tab, then click Print to get to your Print Preview. This should now be showing only the print area that you just set. If you wish to remove the print area, then simply return to the menu in Step 4, but select the Clear Print Area option from the drop down menu instead. This is going to clear the existing print area. If you are setting a print area in an Excel spreadsheet then it is likely because you are trying to reduce the number of pages that you use when you print the document. If you have chosen a print area and find that you are still using more pages than you would like, then you might want to change the fit setting for the spreadsheet. You can find this by going to File > Print then clicking the No Scaling button. There you will see the following options:
No ScalingFit Sheet on One PageFit All Columns on One PageFit All Rows on One Page
I typically use one of these options if there are a couple of rows or columns that are printing on their own pages, as that can make the data difficult to read. One additional reason that you might want to use print areas in Microsoft Excel is if you need to print some blank cells in your spreadsheet. Excel will typically only print cells that contain data. But you can force it to print blank cells with a print area if you are going to be writing information into cells. Excel doesn’t print gridlines by default, so you may need to change that setting, too. You can find this by going to the Page Layout tab then checking the box to the left of Print under Gridlines. Is your Excel spreadsheet difficult to read, even after setting a custom print area? Try printing with gridlines in Excel 2013 to see if that makes it easier to read a printed sheet.
Additional Reading
He specializes in writing content about iPhones, Android devices, Microsoft Office, and many other popular applications and devices. Read his full bio here.