Excel makes it easy for you to resize an image by clicking and dragging on one of the image borders, but it may be important that those images are a specific size for when you print them. Fortunately you are able to manually set the width or height for your images in Excel 2013 so that you can make these dimensions as precise as you need.
Enter a Specific Height or Width for an Image in Excel
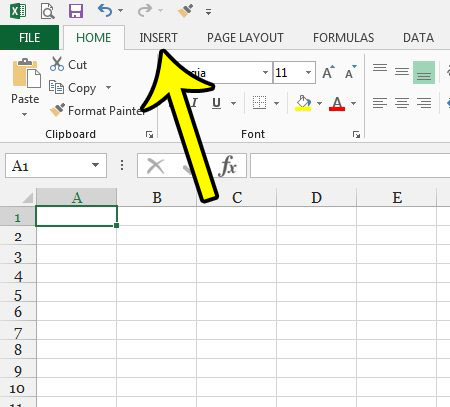
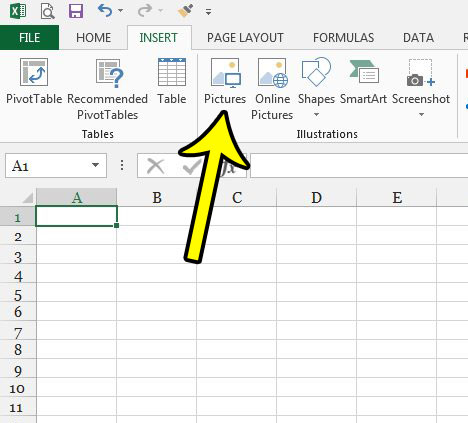
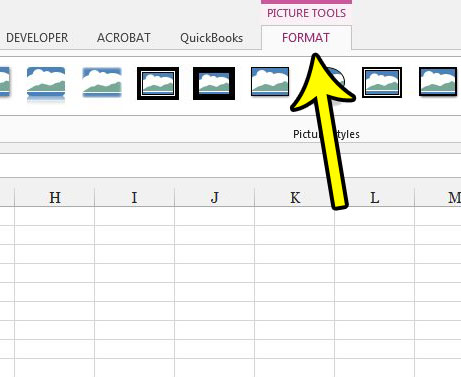
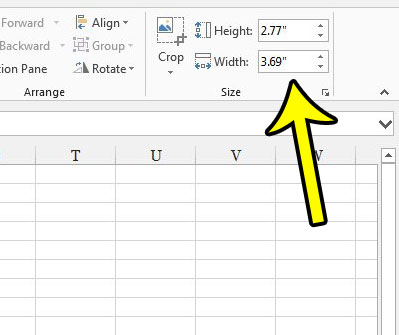
The steps in this article were performed in Microsoft Excel 2013. Note that changing either the width or the height of an image will automatically change the other dimension as well so that the picture remains at its current aspect ratio. Step 1: Click the Insert tab at the top of the window. Step 2: Choose the Pictures button, then browse to and select the picture that you wish to resize. Step 3: Click the picture so that it is selected, then click the Picture Tools Format tab at the top of the window. Step 4: Click inside the Height or Width field in the Size section of the ribbon, enter the desired dimension, then press Enter on your keyboard. Have you noticed that when you resize rows or columns, or move a row or column, that your pictures does adjust accordingly? Find out how to lock an image to a cell in Excel and make it much easier to handle spreadsheet layout adjustments after you have added pictures to that spreadsheet. He specializes in writing content about iPhones, Android devices, Microsoft Office, and many other popular applications and devices. Read his full bio here.