Since images are such an important element of slideshows or presentations that you create in applications like Microsoft Powerpoint or Google Slides, it’s important for those programs to offer some basic image editing capabilities so that you don’t need to constantly switch back and forth between different applications. You can rotate on Google Slides by selecting a picture in one of your slides, selecting “Arrange” at the top of the window, then clicking “Rotation” and choosing one of the rotation options. Our guide below will show you how to select a picture in your Google Slides presentation and rotate it to the desired orientation. There are a couple of default rotation options that you can choose from, as well as an additional formatting menu where you can specify a degree of rotation if the 90 degree default increments aren’t what you need.
How to Rotate a Picture in Google Slides
Our guide continues below with additional information on how to rotate Google Slides images, including pictures of these steps. There are a number of other ways to modify images in Google Slides as well, such as with our how to change transparency in Google Slides tutorial.
How to Turn, Tilt, or Flip a Picture in Google Slides (Guide with Pictures)
The steps in this article were performed in the desktop version of the Google Chrome Web browser, but will work in other desktop browsers like Firefox and Edge, too.
Step 1: Sign in to your Google Drive at https://drive.google.com and open the Slides file containing the picture you wish to rotate.
Step 2: Select the slide with the picture from the column at the left side of the window, then click on the picture once to select it.
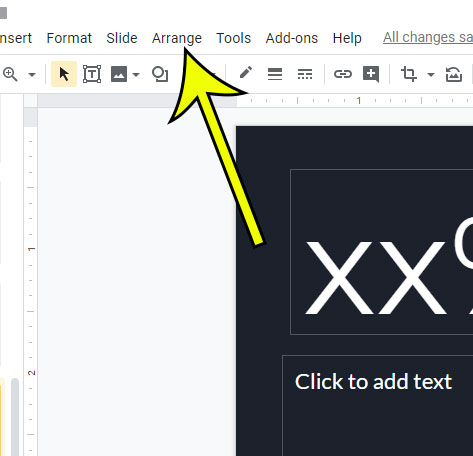
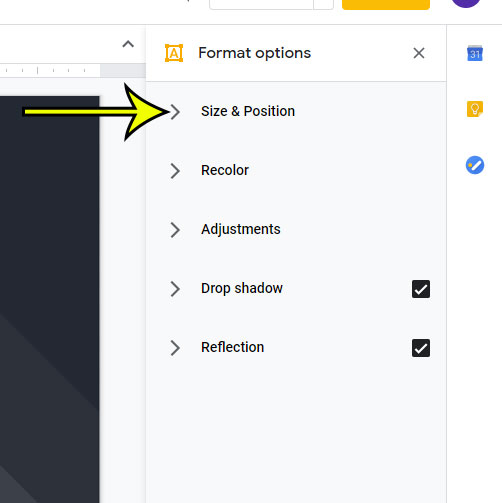
Step 3: Click the Arrange tab at the top of the window.
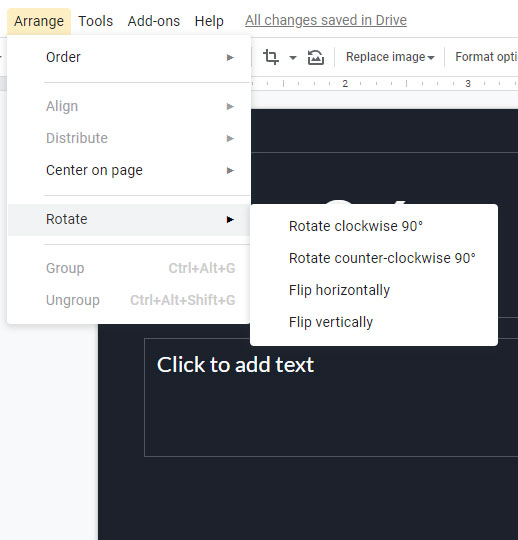
Step 4: Choose the Rotation option, then select the desired amount of rotation.
The next section will show you a way to rotate your Google Slides image by a custom amount. Microsoft Powerpoint offers a lot of options when working with pictures as well. Our how to make a picture into a circle in Powerpoint tutorial will show you some useful cropping tools.
How to Do a Custom Picture Rotation in Google Slides
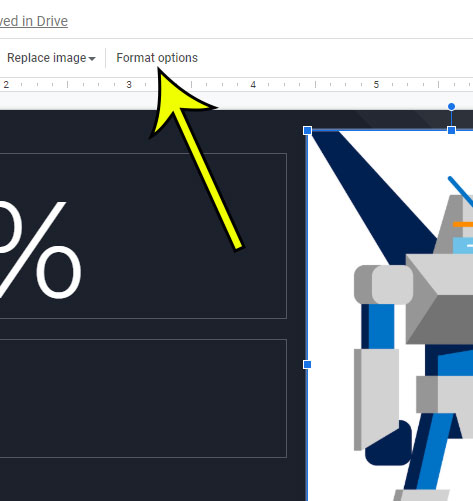
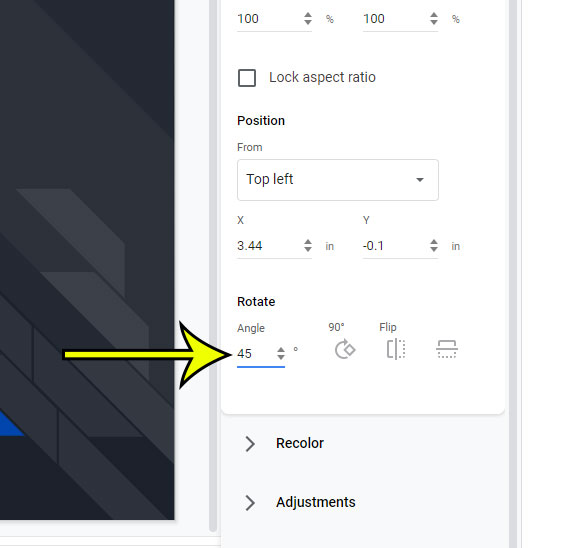
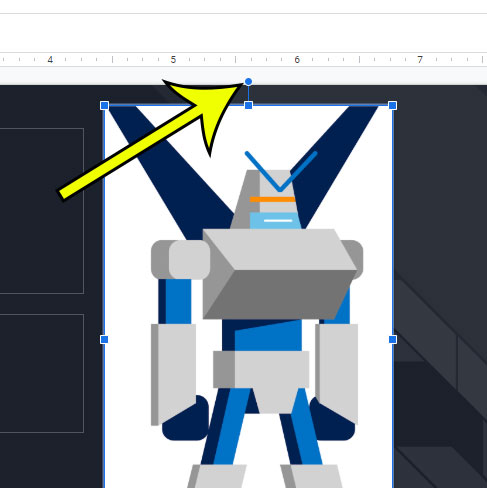
While the default rotation options in Google Slides make it easy when you need to rotate your image by 90 degrees, you may have some rotation requirements that don’t fall into these default options. If you would like to rotate your picture by a different amount, you can instead click the Format options button in the toolbar above the slide while the picture is selected. You can then click the Size & Position tab in the column at the right side of the window. Then finally you can enter the desired rotation amount under the Rotation section of the menu. A final, less-precise way of rotating an image in Google Slides is to click and hold the small blue circle that appears above the picture when it’s selected, then drag the mouse to rotate the image. Our tutorial continues below with additional discussion on Google Slides image rotation.
How to Flip an Image in Google Slides
While this article has focused on rotating a picture by 90, 180, or 270 degrees, you might need to do something else. Sometimes a picture is backward, upside down, or a mirror version of what you need it to be. In these cases, you likely need to flip the image instead. Luckily you probably noticed on the Rotation menu that there were flipping options available. So to flip images in Google Slides you can follow these steps.
More Information on Image Rotating on Google Slides
When you rotate a picture on one of your slides, it only affects the copy of that picture that is in your presentation. This means that if you inserted a picture from Google Photos, or uploaded one from your computer, then it won’t be rotated in that location if you need to use it in a different document. If you would like to rotate the source image then you will need to use another application, like Microsoft Paint or Adobe Photoshop, to rotate the original file and save it. Google Docs also has tools available in the application that you can use to rotate images. To do so you will need to open your Google document from Google Drive, select the image, then click the Image options button in the toolbar above the document. You can then expand the Size & rotation tab at the right side of the window and change the Rotate value. Do you need to add one slide from your presentation to another file, such as a document? Find out how to download a single slide as a picture so that it can be used or shared in the same manner as any other image.
He specializes in writing content about iPhones, Android devices, Microsoft Office, and many other popular applications and devices. Read his full bio here.