Our tutorial below will show you how to disable the unknown senders tab so that every text message you receive appears in the same list.
How to Combine Unknown Senders and Known Senders Into One List on an iPhone
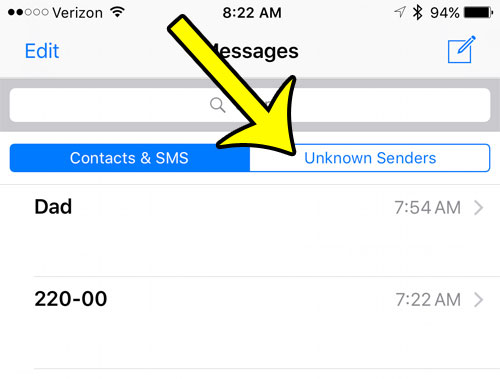
The steps in this guide were written using an iPhone 7 Plus, in iOS 10. These same steps will work for other iPhone models in iOS 10, as well as several earlier versions of iOS. The specific item that we are changing with these steps is the Unknown Senders tab shown below, which appears at the top of the Messages app.
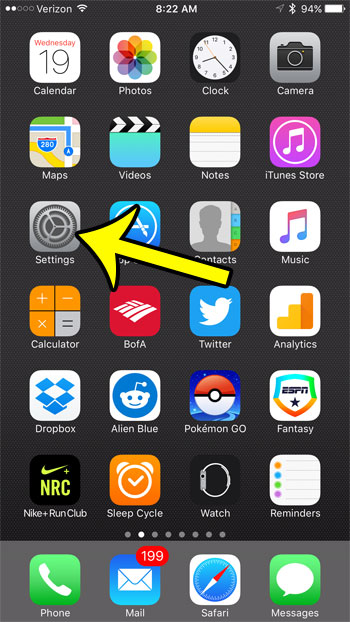
Step 1: Tap the Settings icon.
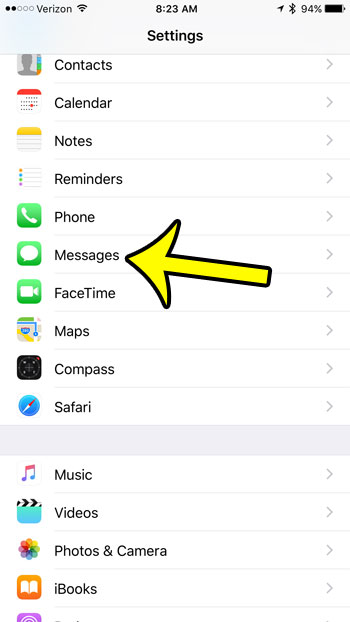
Step 2: Scroll down and select the Messages option.
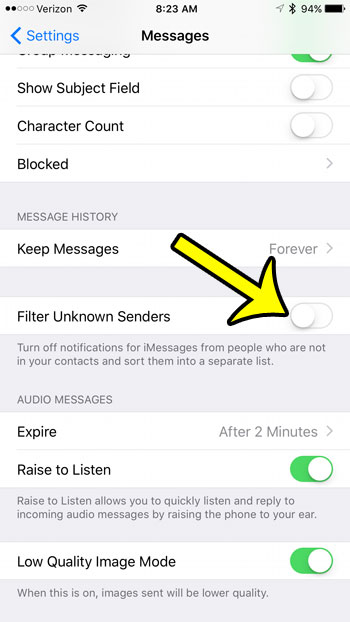
Step 3: Scroll down and tap the button to the right of Filter Unknown Senders. Your iPhone will stop splitting unknown senders into a separate tab when the button is in the left position, and there is no green shading around the button. I have disabled the Unknown Senders tab in the picture below.
Summary – How to Remove the Unknown Senders Tab on an iPhone in iOS 10
Are there phone numbers or contacts that keep sending you text messages that you don’t want? Learn how to block an iPhone text message so that messages and calls from that phone number or contact stop appearing on your iPhone. He specializes in writing content about iPhones, Android devices, Microsoft Office, and many other popular applications and devices. Read his full bio here.