While you may have explored PDF editing programs or other options for adding information to a presentation from that PDF, it may be easier for your to simply put the entire contents of the PDF file into one of your slides. Our tutorial below will show you how to put a PDF into Powerpoint 2013 using one of the built-in tools of the application.
How to Insert a PDF Into a Slide in Powerpoint 2013
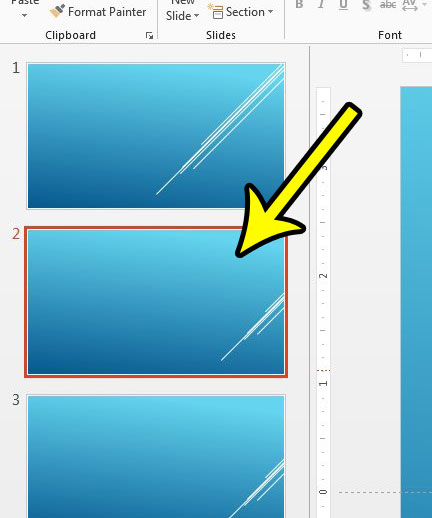
The steps in this article were performed in Microsoft Powerpoint 2013, but will work in newer versions of Powerpoint as well. This guide assumes that you currently have a PDF document on your computer that you would like to add to one of your slides. Step 1: Open your presentation in Powerpoint 2013. Step 2: Select the slide into which you wish to add the PDF.
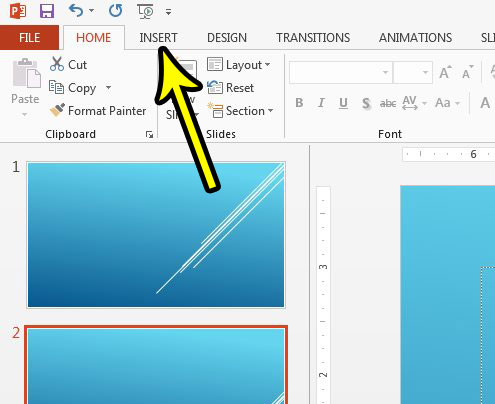
Step 2: Select the Insert tab at the top of the window.
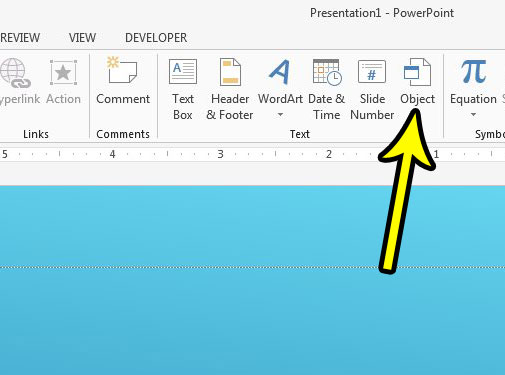
Step 3: Click the Object button in the Text section of the ribbon.
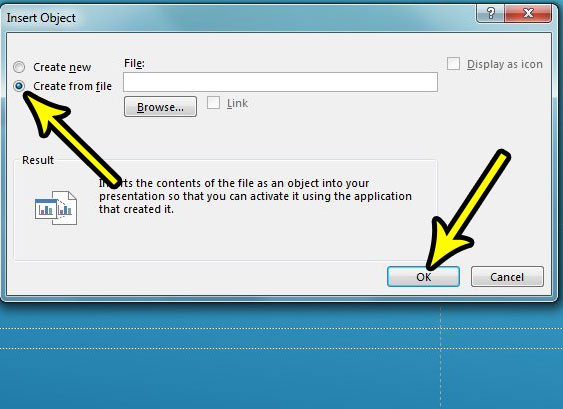
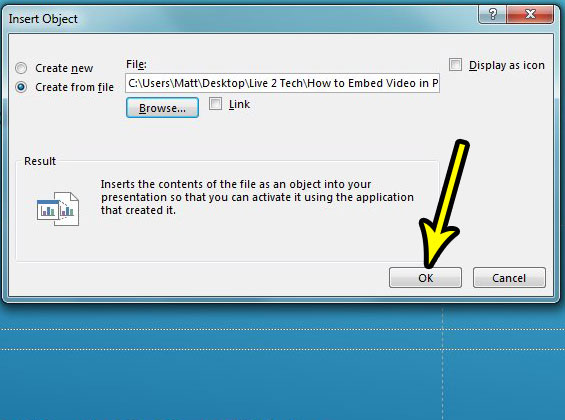
Step 4: Choose the Create from file option at the left side of the window, then click the Browse button.
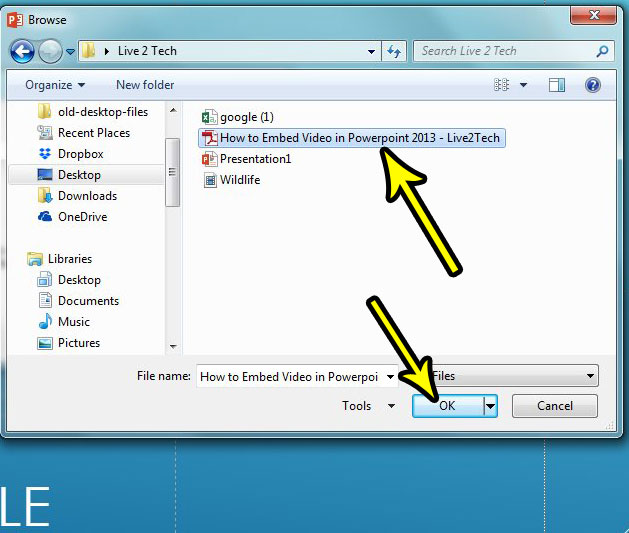
Step 5: Browse to the PDF that you want to insert into Powerpoint, select it, then click the OK button.
Step 6: Check the Display as icon button if you only want to show a PDF icon in the slide (or don’t check that box if you want to insert the contents of the PDF into the slide), then click the OK button at the bottom of the window.
Would you like to add a video from Youtube or your computer to a slide? Find out how to embed video in Powerpoint 2013 if you would like to be able to show a video to your audience as part of your presentation. He specializes in writing content about iPhones, Android devices, Microsoft Office, and many other popular applications and devices. Read his full bio here.