Fortunately Microsoft Word 2013 provides a helpful tool that will let you add these page numbers to a few locations in the document, including the footer at the bottom of the page. Our tutorial below will show you how to add page numbers to that location.
How to Add Page Numbers to the Bottom of the Page in Word 2013
The steps in this article will show you how to add page numbers that appear automatically in the footer, at the bottom of every page of your document. This setting only applies to the current document. You will be able to select from a handful of different page number styles, so there are a few options if you don’t want to use the option that I select in this tutorial. Step 1: Open your document in Word 2013. Step 2: Select the Insert tab at the top of the window.
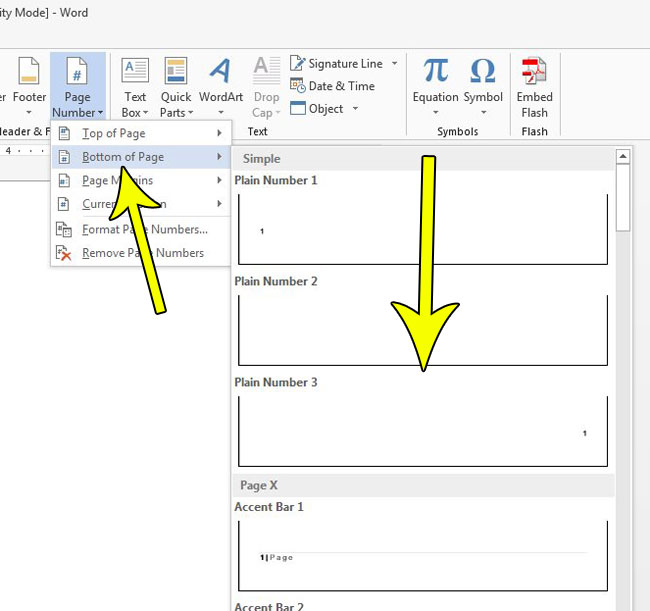
Step 3: Click the Page Number button in the Header & Footer section of the ribbon.
Step 4: Select the Bottom of the Page option, then click the page numbering style that you want to use. Note that there are more page numbering options if you scroll further down the list.
If you are adding page numbers because they are a requirement for an assignment, then it’s possible that there are additional concerns that you need to take with that numbering. Find out how to remove the page number from the first page, for example, if your instructions require you to not include the page number on a title page. He specializes in writing content about iPhones, Android devices, Microsoft Office, and many other popular applications and devices. Read his full bio here.