One effective way to print your speaker notes is by printing them underneath the slide that they reference. Our guide below will show you how to print a page for each slide, along with its corresponding speaker notes, to help you stay on track when presenting with Powerpoint 2013.
Printing a Powerpoint File with Notes in Powerpoint 2013
The steps in this article were performed in Powerpoint 2013. You can print Powerpoint files with notes in other versions of Powerpoint as well, but the process may differ slightly. The end result of the method below will be a printed page that contains an image of your slide above the notes for that slide. If your presentation has 10 slides, then Powerpoint will print 10 pages. These steps assume that you have already added speaker notes to your slides. Here is now to print Powerpoint with notes – These steps are also shown below with pictures – Step 1: Open the Powerpoint file that contains the notes you wish to print along with your slides. Step 2: Click the File tab at the top-left corner of the window.
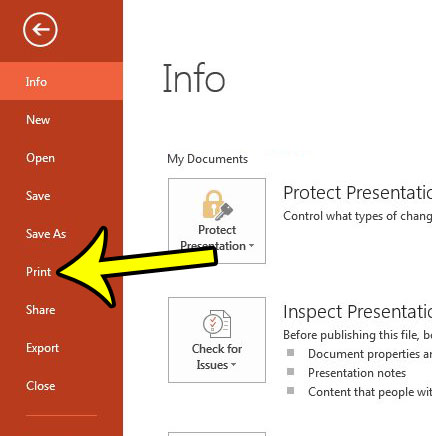
Step 3: Click the Print button in the column at the left side of the window.
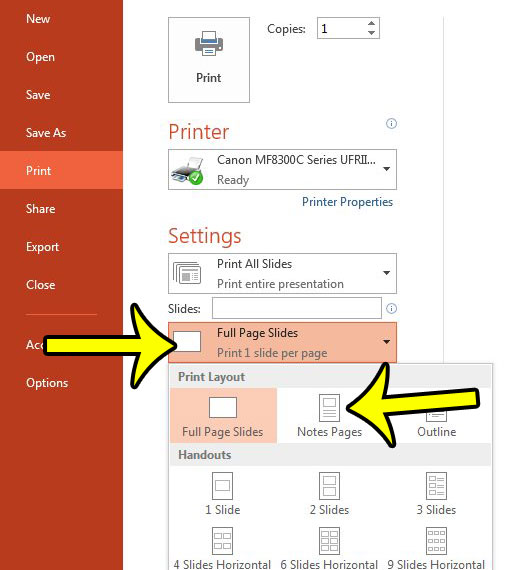
Step 4: Click the second button under Settings (the button says Full Page Slides by default), then click the Notes Pages button.
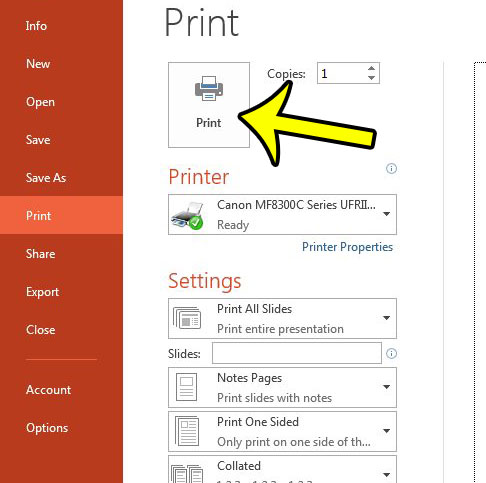
Step 5: Click the Print button at the top of the window to print your Powerpoint presentation with notes.
While you can only print one slide/notes combo per page, you can print multiple slides on a page if you can forego the notes. This article will show you how to adjust the number of slides that are printed per page. He specializes in writing content about iPhones, Android devices, Microsoft Office, and many other popular applications and devices. Read his full bio here.