One of the things that you might want to do is learn how to print on legal paper in Excel 2010. This can be helpful by providing you with the ability to print more rows on a portrait-oriented sheet, or by fitting more columns on a landscape-oriented one. Fortunately changing from letter to legal paper in Excel 2010 is a setting that you can change with just a few steps, so continue below to see how.
How to Switch from Letter to Legal Sized Paper in Excel 2010
The steps in this article will assume that your spreadsheet is currently configured to print on some other page size besides legal. Note that if you have manually inserted any page breaks, or otherwise manually configured your sheet to print in a way other than what is applied to the sheet by default, then you may need to go back and adjust those settings to accommodate the change in paper size. Step 1: Open your spreadsheet in Excel 2010. Step 2: Click the Page Layout tab at the top of the window.
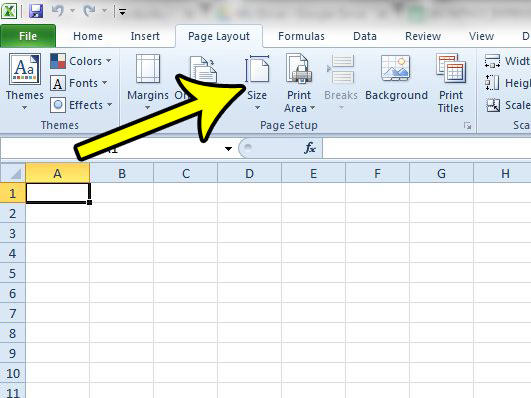
Step 3: Click the Size button in the Page Setup section of the ribbon.
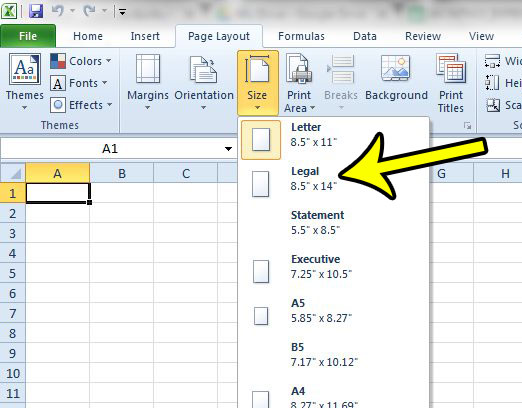
Step 4: Click the Legal option from the list of paper sizes.
Note that you may need to change paper trays, or make some other printer-related adjustments once you have selected to print on legal paper. All printers are different, so the specific steps for printing on legal paper will vary depending upon your printer model. He specializes in writing content about iPhones, Android devices, Microsoft Office, and many other popular applications and devices. Read his full bio here.