But you might be having difficulty locating the button that allows you to add a picture in Word 2013, especially if you are new to the program. Our guide below will walk you through the process of adding a picture to a document, then show you a couple of ways that you can modify that document or resize it to make it fit better with your vision for your document.
How to Add a Picture to a Document in Microsoft Word 2013
The steps in this article will assume that you have a picture saved on your computer that you would like to insert into your document. Step 1: Open the document in Word 2013. Step 2: Click at the point in the document where you would like to insert your picture.
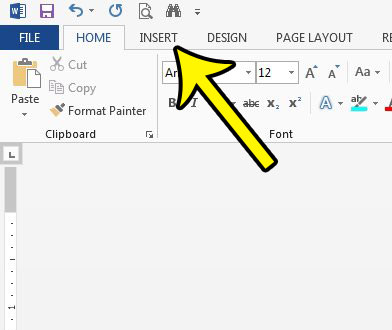
Step 3: Click the Insert tab at the top of the window.
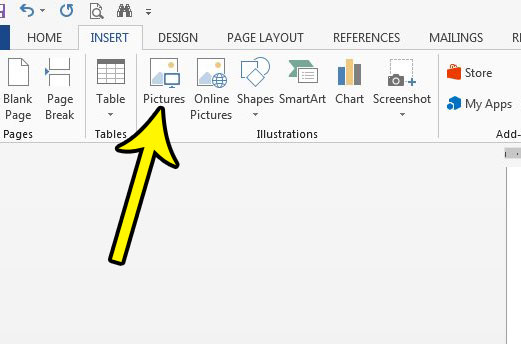
Step 4: Click the Pictures button in the Illustrations section of the ribbon.
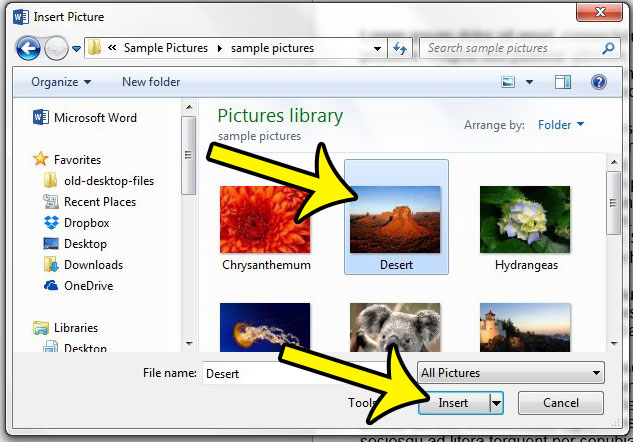
Step 5: Select the picture that you want to insert into your Word document, then click the Insert button.
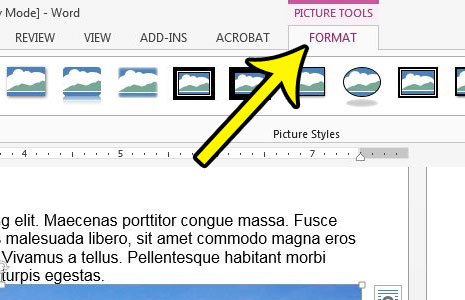
Once the picture is inserted into the document you can click the picture to select it, which will enable another tab at the top of the window called Picture Tools. This tab includes a number of different options for formatting your inserted picture.
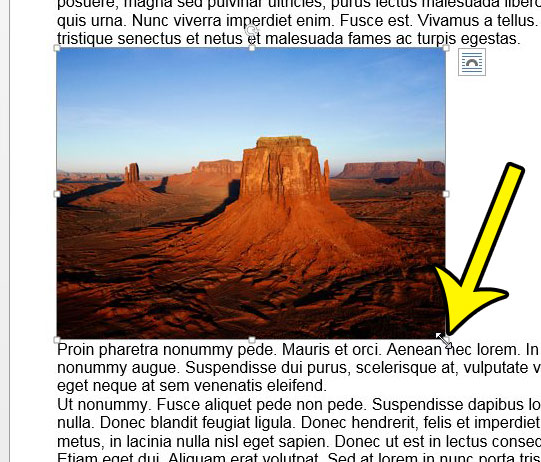
Additionally, if the picture that you inserted was to large or too small, you can drag the handles around the image to adjust its size.
Does your job or school require specific formatting for the documents that you create? Learn how to double space in Word 2013 if that is one of the requirements that you need to apply. He specializes in writing content about iPhones, Android devices, Microsoft Office, and many other popular applications and devices. Read his full bio here.