But you may be editing or viewing your presentation in a way that this is not the most efficient way to view all of the slides. If so, then you might prefer to view all of your slides as a grid. Fortunately this change can be made with the help of a single button in the Google Slides interface.
How to Switch to Grid View in Google Slides
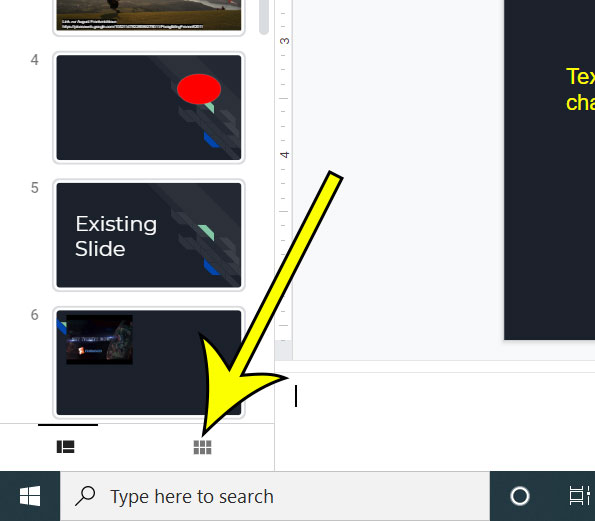
The steps in this article were performed in the desktop version of the Google Chrome Web browser, but will also work in other desktop browsers like Edge or Safari. Step 1: Sign into your Google Drive at https://drive.google.com and open your presentation. Step 2: Click the Grid view button at the bottom of the left column of slides. You can switch back to the standard list view by clicking the Filmstrip view at the bottom-left of the window when you are done. Alternatively you can switch to grid view by selecting the View tab at the top of the window, then clicking the Grid view option. You can also use the keyboard shortcut of Ctrl + Alt + 1. Note that Google Slides won’t remember this setting, so you will return to the default view if you close the presentation and reopen it. There also isn’t a setting to change the default view, so you will need to manually switch to grid view any time you open a presentation.
Additional Reading
How to copy a slide in Google SlidesHow to make a picture transparent in Google SlidesHow to print Google Slides with notesHow to change font in Google SlidesHow to hide slides in Google Slides
He specializes in writing content about iPhones, Android devices, Microsoft Office, and many other popular applications and devices. Read his full bio here.