But if you find that iTunes isn’t checking for new updates, then there is a setting in the application that you might need to change. Our tutorial below will show you where to find this setting so that you can enable automatic update checks in iTunes for Windows.
How to Enable Automatic Update Checks in iTunes
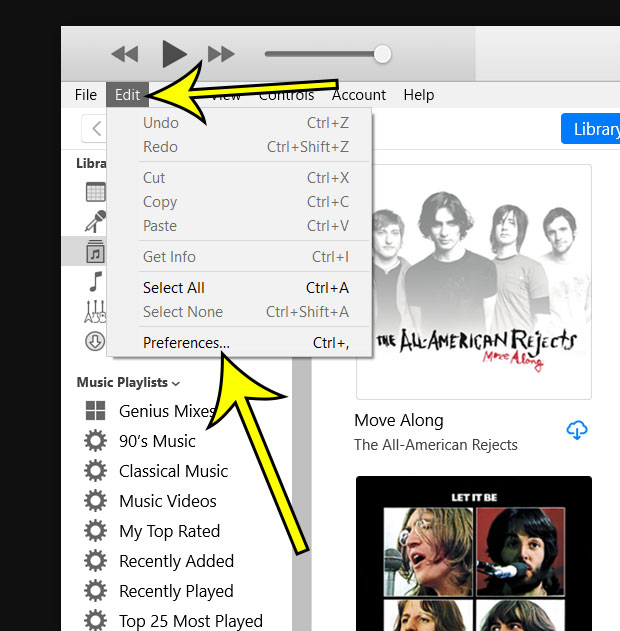
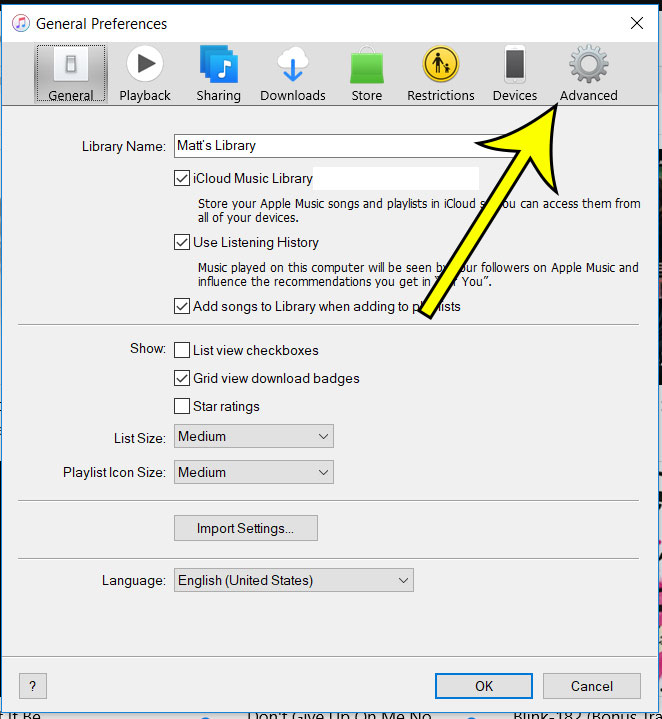
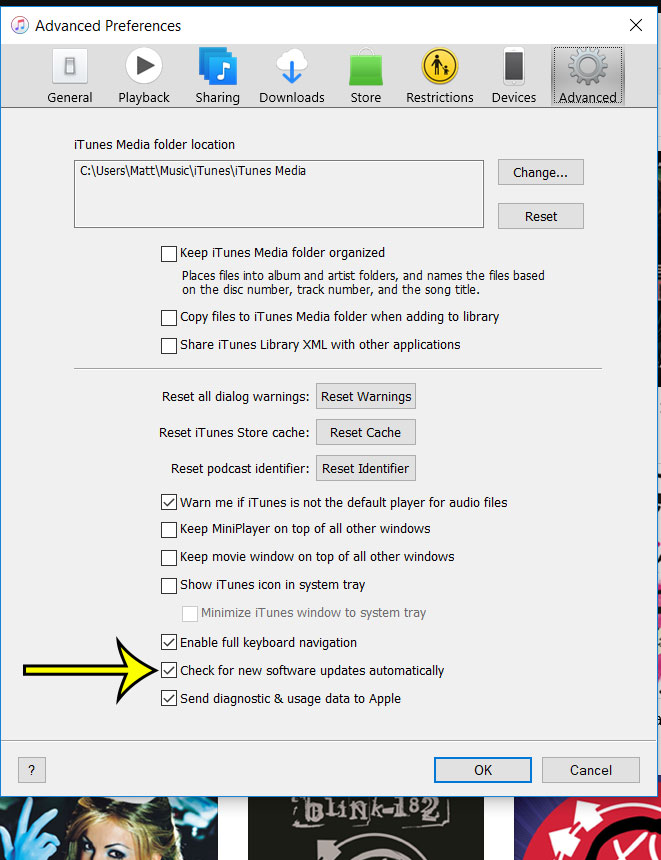
The steps in this guide were performed on a Windows 10 laptop, using the most current version of the iTunes software. Note that iTunes will not update itself automatically. By enabling this option you will receive notification that an update is available, then you can click through that message to install the update. Step 1: Open iTunes. Step 2: Select the Edit tab, then click the Preferences option. Step 3: Choose the Advanced tab at the top of the window. Step 4: Check the box to the left of Check for new software updates automatically, then click the OK button. Have you ever found a need to print a copy of one of your playlists? Find out how to print an iTunes playlist if you need to be able to share the songs on that playlist with others. He specializes in writing content about iPhones, Android devices, Microsoft Office, and many other popular applications and devices. Read his full bio here.