Typically this won’t affect the way that you use your computer, but Outlook has a setting where it can block emails that are sent to addresses that use a domain name from a different country. If you are attempting to email someone with one of these email addresses and it’s not working, then you may want to check with the steps below to see whether or not that option has been disabled in Outlook.
How to Enable Sending to International Domain Names in Outlook 2013
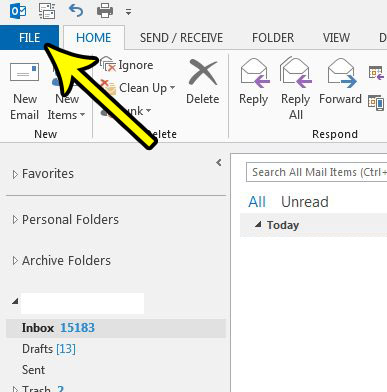
The steps in this article were performed in Microsoft Outlook 2013, but will work in later versions of Outlook as well. Note that this guide assumes that you are currently unable to send emails to someone that is using an email domain name for a different country than the one you are currently in, and that you are able to send emails to people in your own country. Step 1: Open Outlook 2013. Step 2: Click the File tab at the top-left of the window.
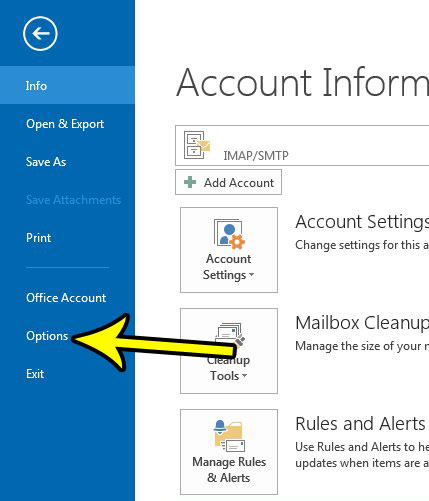
Step 3: Click the Options button at the bottom of the column on the left side of the window.
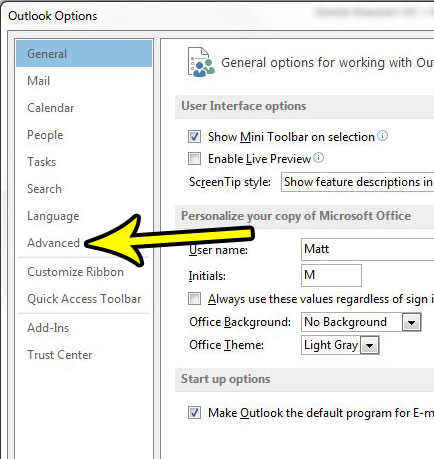
Step 4: Select the Advanced tab in the left column of the Outlook Options menu.
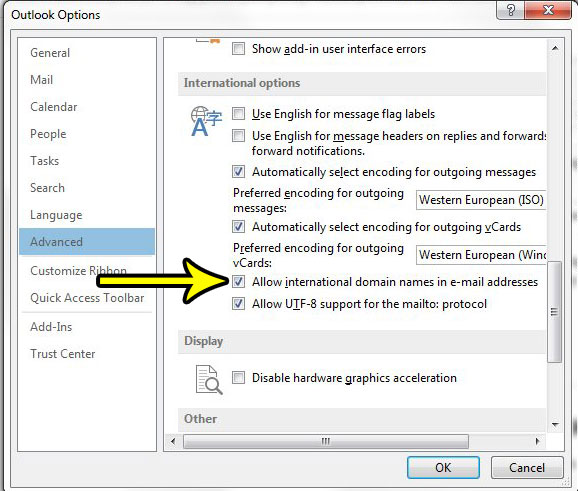
Step 5: Scroll down and check the box to the left of Allow international domain names in e-mail addresses.
Step 6: Click the OK button at the bottom of the window to apply the change. Would you like to have Outlook check your email server for new messages more often? Find out how to change the send and receive frequency in Outlook 2013 and look for new emails as often as you would like. He specializes in writing content about iPhones, Android devices, Microsoft Office, and many other popular applications and devices. Read his full bio here.