But if it seems like the content in the columns is too close together, or if you simply want some kind of visible indicator that separates your columns, then you might like to insert a line between those columns. Our guide below will show you how to add lines between your columns in Google Docs using an option found on the Columns menu.
How to Insert a Line Between Google Docs Columns
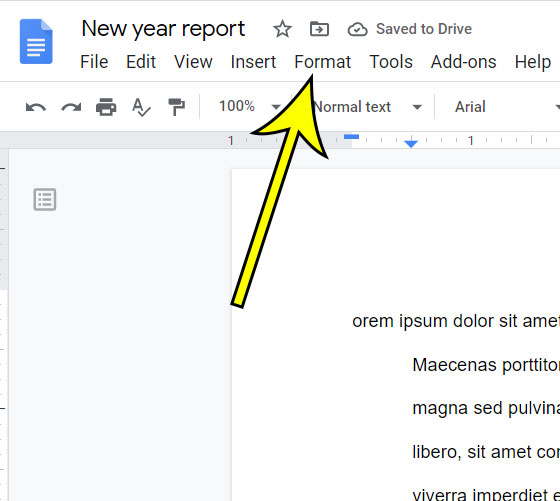
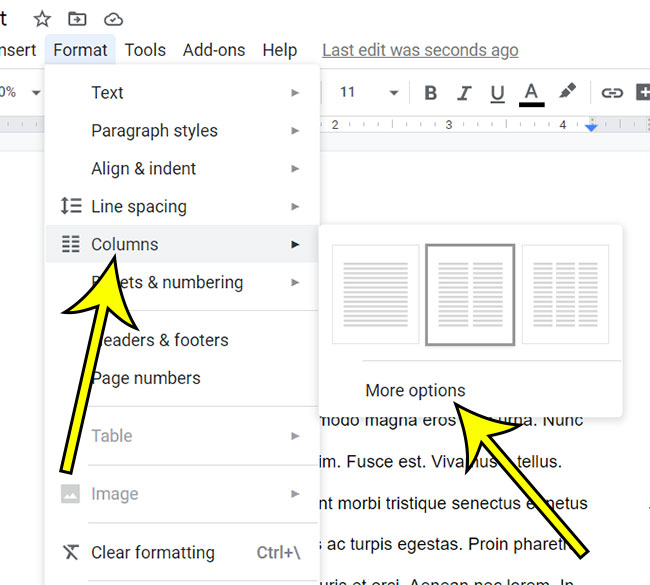
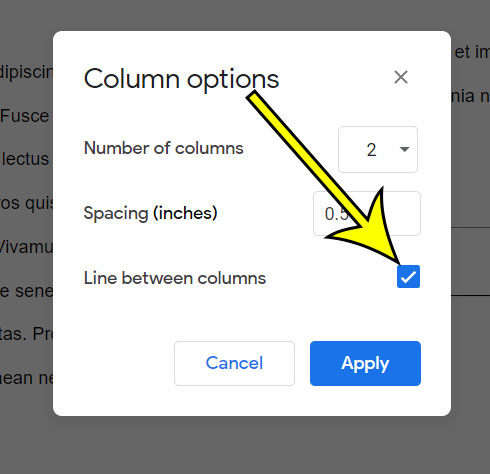
The steps in this guide were performed in the desktop version of the Google Chrome Web browser, but will also work in other desktop Web browsers like Firefox or Edge. Step 1: Sign into Google Drive at https://drive.google.com and open your document. Step 2: Select the Format tab at the top of the window. Step 3: Choose the Columns option, then click More options. Step 4: Check the box to the right of Line between columns, then click OK. Line should then appear between the columns in your document. You can remove the line between columns by simply returning to the Format > Columns > More options menu and clicking the Lines between columns box again to remove the checkmark.
Additional Reading
How to strikethrough in Google DocsHow to make 1 inch margins in Google DocsHow to remove page numbers in Google DocsHow to insert a text box in Google DocsHow to double space in Google Docs on an iPhone
He specializes in writing content about iPhones, Android devices, Microsoft Office, and many other popular applications and devices. Read his full bio here.